TubeLineStops
Apr 12, 2018
Hello and welcome to the first post of this humble blog!
A few months ago I did the Luas Dublin app. This app shows Luas lines and real-time information for each stop. What I would like to share with you today is a class that I used to draw Luas lines and stops. You can download a full example here.
The TubeLineStop class is an UIView subclass. This class draws parts of the line, these parts could be the beginning of the line, the end, forks etc. You can see different types here:
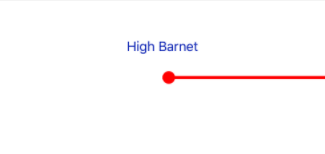
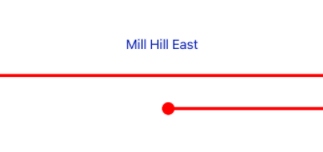
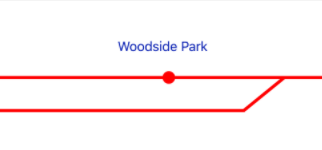
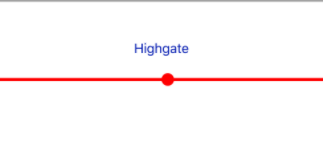
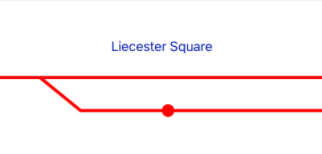
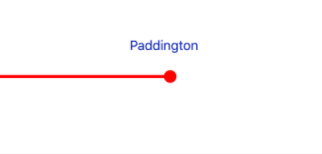
You can configure the color of the line and the type of the stop that you are drawing.
The TubeLineStop class overwrite the draw function of the UIView class. To draw the line, the first thing that we have to do is to create a context with the function UIGraphicsBeginImageContext. According to Apple class reference, UIGraphicsBeginImageContext creates a bitmap-based graphics context and makes it the current context.
So, let's do it
let context = UIGraphicsGetCurrentContext()
Once we have the context, we can draw lines, circles or whatever we want. For example, to draw the first stop of a line we could do something like this:
context?.setLineWidth(4.0) (1)
context?.setStrokeColor(color) (2)
context?.move(to: CGPoint(x: width/2, y: yLinePosition)) (3)
context?.addLine(to: CGPoint(x: width, y: yLinePosition)) (4)
context?.strokePath()(5)
context?.addEllipse(in: CGRect(x: width/2, y: yStopPosition,
		   width: circleDiameter, height: circleDiameter)) (6)
context?.fillPath() (7)
context?.strokePath()
First, we have to set the line width (1) and the stroke colour (2). The next step is to move to the starting point of the line that is going to be drawn (3). With (4) we specified where the end of the line is. After that, having defined the line width, colour and path, we are ready to draw the line (5). To draw the tube stop, we must define the rectangular area into which the shape must fit and then call the addEllipse(in:) context method (6). With (7) we fill the path.
And that’s it! You can download the full project here